

Prerequisites: You need Jira administrator permissions (for company-managed projects) or project admin rights (for team-managed projects).
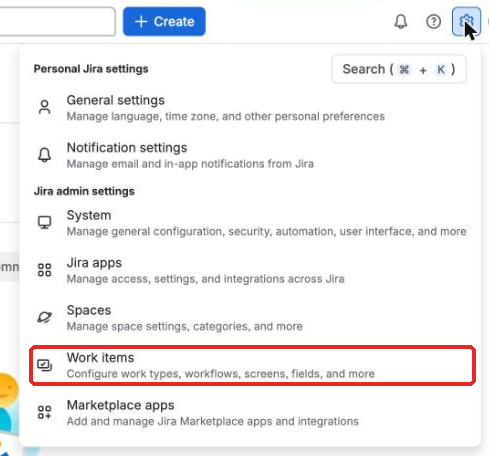
1. Click the gear icon (Settings) → Work items (called Issues in older versions)
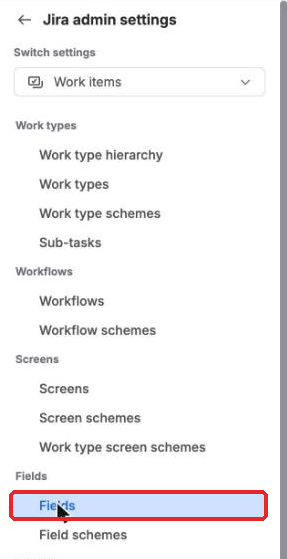
2. In the left sidebar, choose Fields
3. Click Create new field
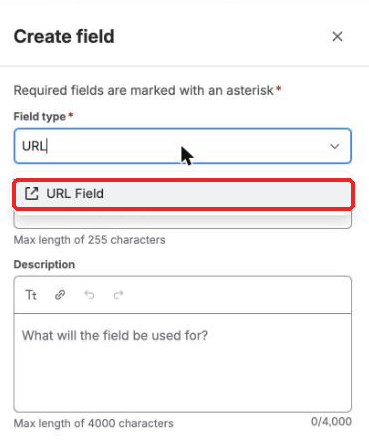
1. Select URL Field as the field type
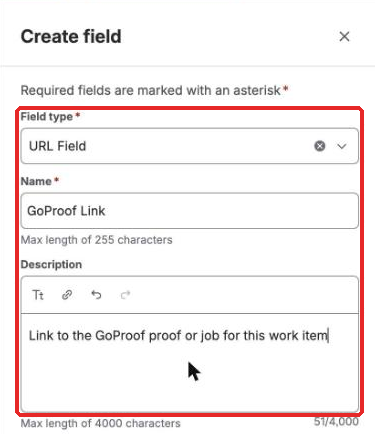
2. Name it "GoProof Link" and optionally add a description
3. Click Create
4. Choose which screens the field should appear on (recommended: Create, Edit, and View screens for relevant issue types)
5. Save your configuration
1. Click Create new field again
2. Select Short text (plain text only) as the field type
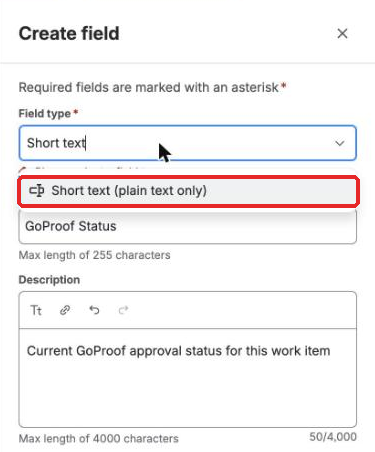
3. Name it "GoProof Status" and optionally add a description

4. Click Create
5. Choose which screens the field should appear on (recommended: Create, Edit, and View screens for relevant issue types)
6. Save your configuration
1. Open your project, then go to Project settings → Work types (or Issue types).
2. Select the issue type you want to change.
3. In the field list, click Add field, then Create new field.
4. For GoProof Link, choose the URL type, name it "GoProof Link" and save.
5. Repeat for GoProof Status: choose the Short text type, name it "GoProof Status" and save.
Note: Team-managed fields apply only to that specific project.
If you've created the fields but can't see them on your issues, check these four places:
1. Screens: Settings → Work items → Screens. Ensure the fields are on the screens used by your issue types
2. Field context: Settings → Work items → Fields → find the field → ⋯ → Contexts. Verify the context includes your projects and issue types
3. Field configuration: Ensure fields aren't hidden under Field configurations
4. issue view: In the issue view, click Configure (top-right) and add the fields to the visible layout
1. Go to your issue list/board view
2. Click Columns or the column settings icon
3. Add "GoProof Link" and "GoProof Status" to your visible columns
4. Save your column configuration
The steps are similar to Jira Cloud:
1. Administration (gear icon) → Issues → Fields → Add field
2. Choose the field type (URL for GoProof Link, Text Field for GoProof Status)
3. Name the field
4. Associate it with screens
5. Set the context


